Install VPN on Ubuntu (14.04) with OpenVPN
Download configuration files
First, you have to download VPNFacile configuration files for OpenVPN.
Create a directory in Documents folder only, and uncompress the archive in this directory.
Launch the terminal
Click on Ubuntu icon, in upper left corner of your screen.
Tap terminal in order to search application.
Open terminal application by clicking on the icon.
Launch the installation
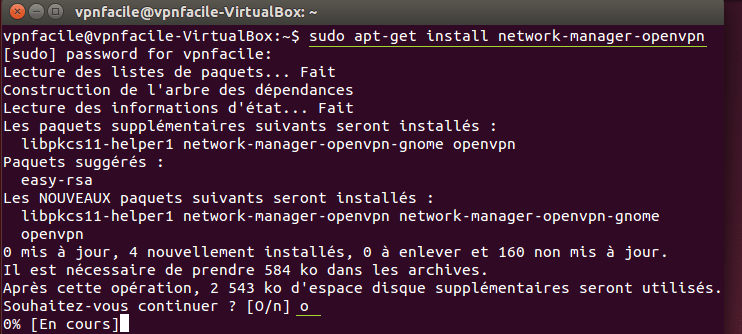
Tap this line : sudo apt-get install network-manager-openvpn
Confirm by pushing on key Enter, then tap your password.
Allow installation by pushing on key o, then Enter.
The installation can last 10 to 20 seconds, please wait.
VPN connection’s add
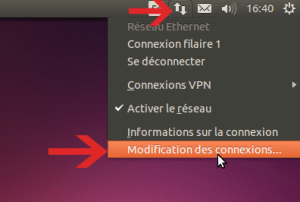
Click on Network Manager icon (two arrows)
Choose Connection modification
Files’s importation
Click on Add
In the list, choose Import a VPN configuration registrated
Choose one of the .openvpn file in the folder holding the previous uncompressed files (see step 1).
Connection configuration
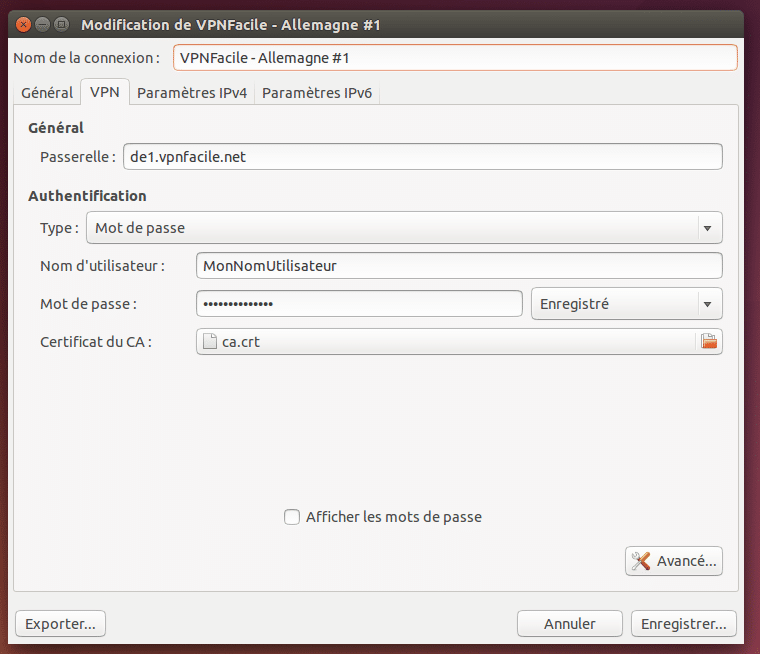
Tap your VPNFacile login and password.
Those you chose at your registration on our website.
Important: Click on Advanced… and check if the port is 443 and not 1194.
VPN connection
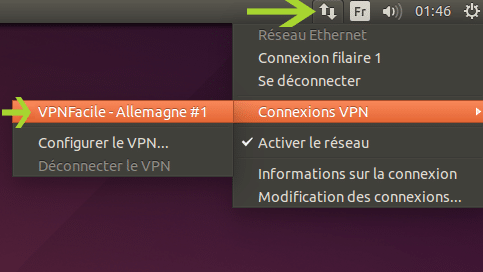
Click right on Network Manager icon (two arrows), then choose the server you want.
You are now connected
You are now connected !


