Installation tutorial of OpenVPN’s (GUI) software for Windows 8
Download necessary files
First, you have to download OpenVPN software, then configuration files.
Launch the installation of OpenVPN GUI software
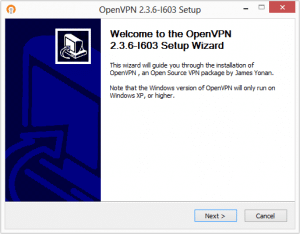
Double-click on the OpenVPN GUI installation software.
Windows can ask you the authorization to execute the file. Click on “Yes”
Click on Next then on I Agree and then on Next
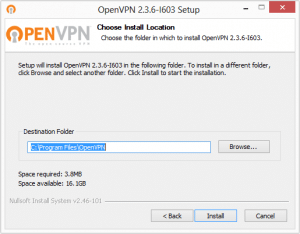
Installation’s launching
To launch the installation, click on Install
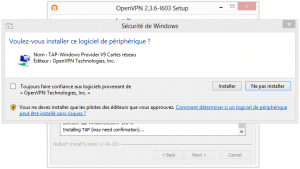
Installation in progress
Installation is in progress. This step can take 10 to 20 seconds.
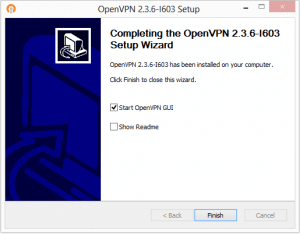
Finished installation
Check the box Start OpenVPN GUI then click on Finish
Configuration files installation
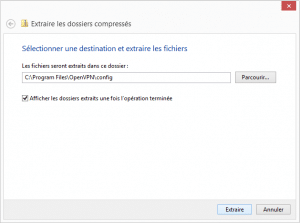
Now, you have to compress the archive previously downloaded in the repertory C:Program FilesOpenVPNconfig
You can use the software of your choice, or the Windows utility by default.
Connection to the VPN
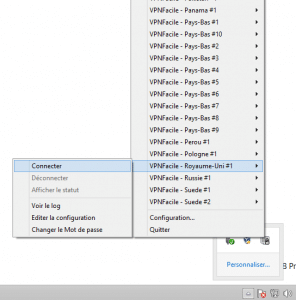
Click-right one the OpenVPN GUI icon, near to the hour (Check the hidden icons).
Choose the server of your choice.
Click on Connect for launch connection
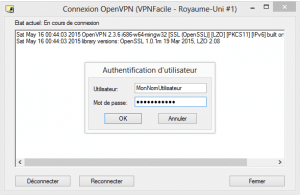
Identification to the VPN server
Enter your VPNFacile login and password
The ones you choose when you register on the website.
You are now connected
The VPN is connected. The icon of OpenVPN GUI becomes green.
Click here to check your IP address.

