Tutorial for the installation of VPNFacile software on Mac OS with TunnelBlick
1
Download TunnelBlick
First, you have to download TunnelBlick.
2
Launch the installation of TunnelBlick software
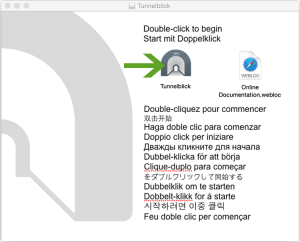
Double-click on downloaded file.
If Mac asks a confirmation, click on Open.
Then, click on TunnelBlick icon.
3
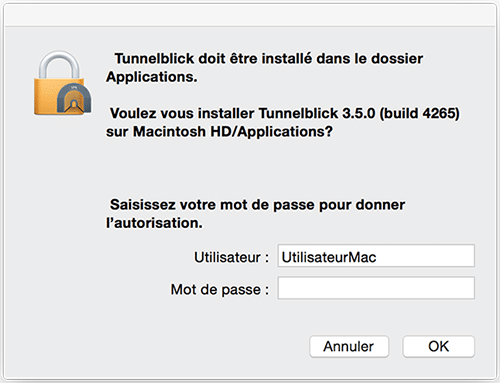
Start the installation
In order to start the installation, you have to tap your Mac login.
4
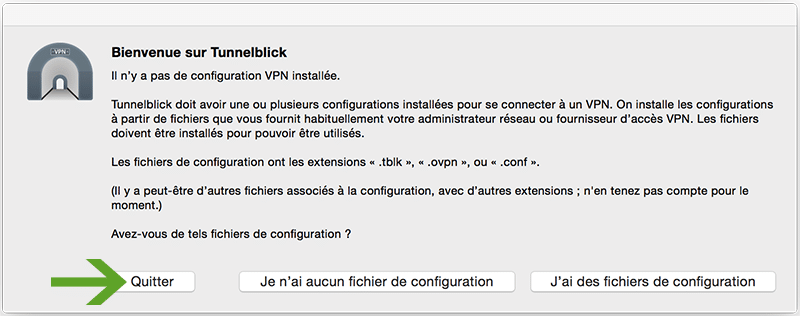
Configuration of the configuration files
Click on Quit
We are going to install configuration files to the next step.
5
Configuration files’ importation
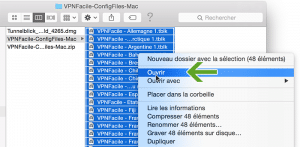
Uncompress the archive in a directory, then select all files.
Click right on Open
6
Configuration files’s importation
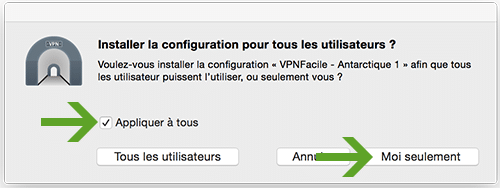
Check Apply all
Check Only me
7
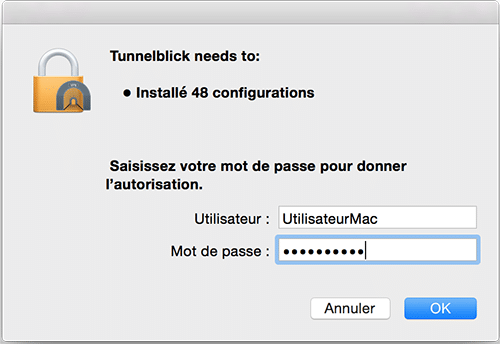
Configuration file’s configuration
In order to launch securised files, you have to tap your Mac login.
8
Connection to VPN server
Click right on the TunnelBlick icon, near hour.
Choose the server you want.
9
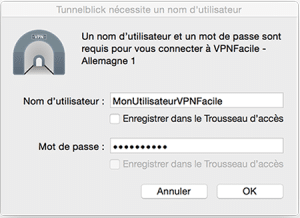
Connection to VPN server
Tap your VPNFacile login and password.
Those you chose to your registration on the VPNFacile website.
10
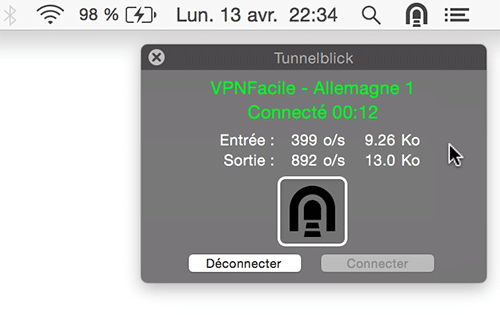
You are now connected
You are now connected!
You can check your IP on this page.

